

Shopify connection reference
Find Shopify app credentials, configure Partner distribution, create checkout links, and review alternate connection settings.
Use the Shopify Quickstart for the complete Managed Checkout sandbox flow. This reference covers app credentials, Partner distribution, Checkout Everywhere links, and alternate configuration.
App access and credentials
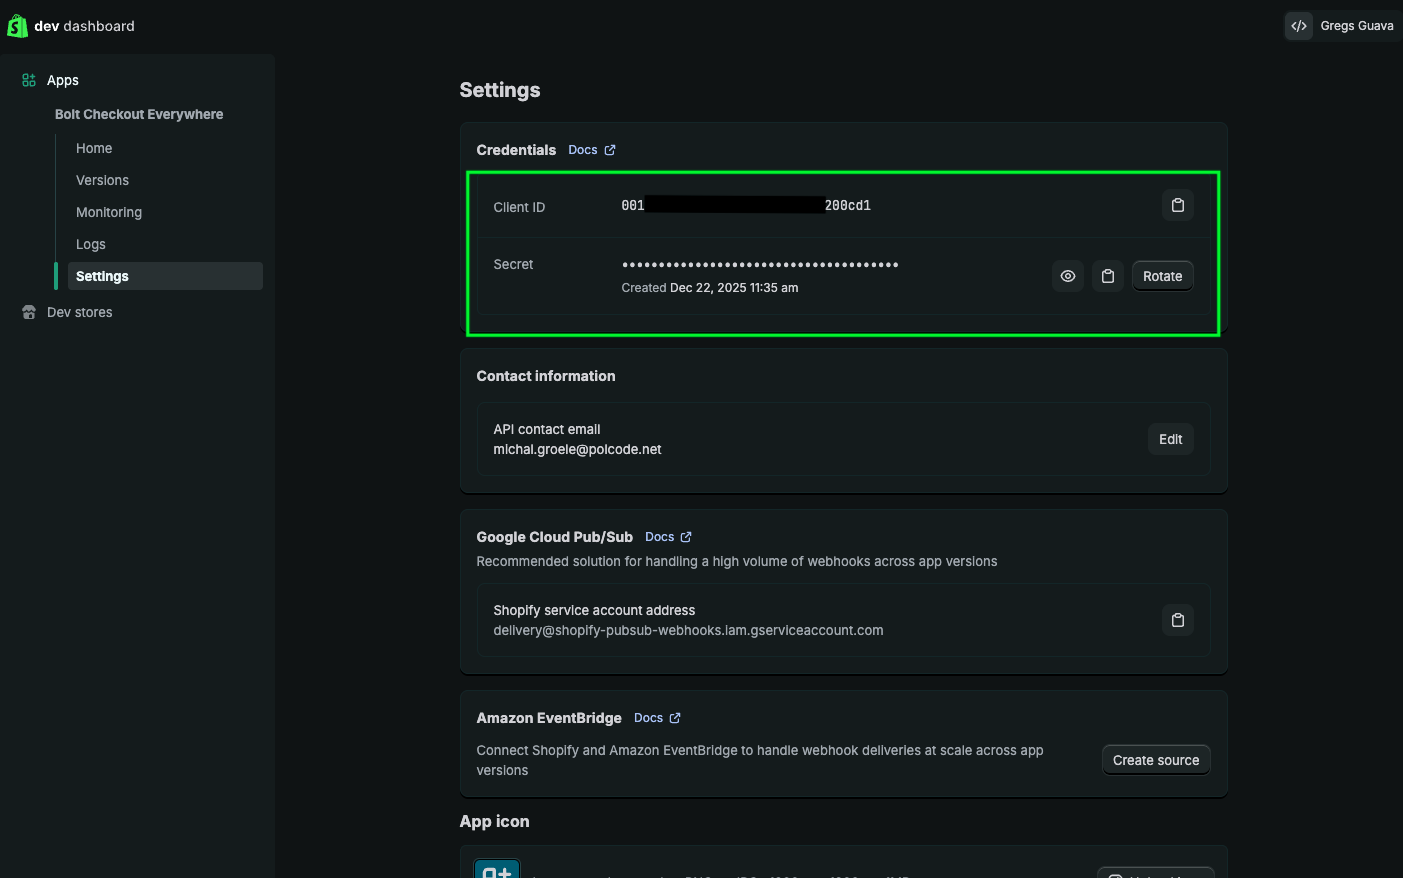
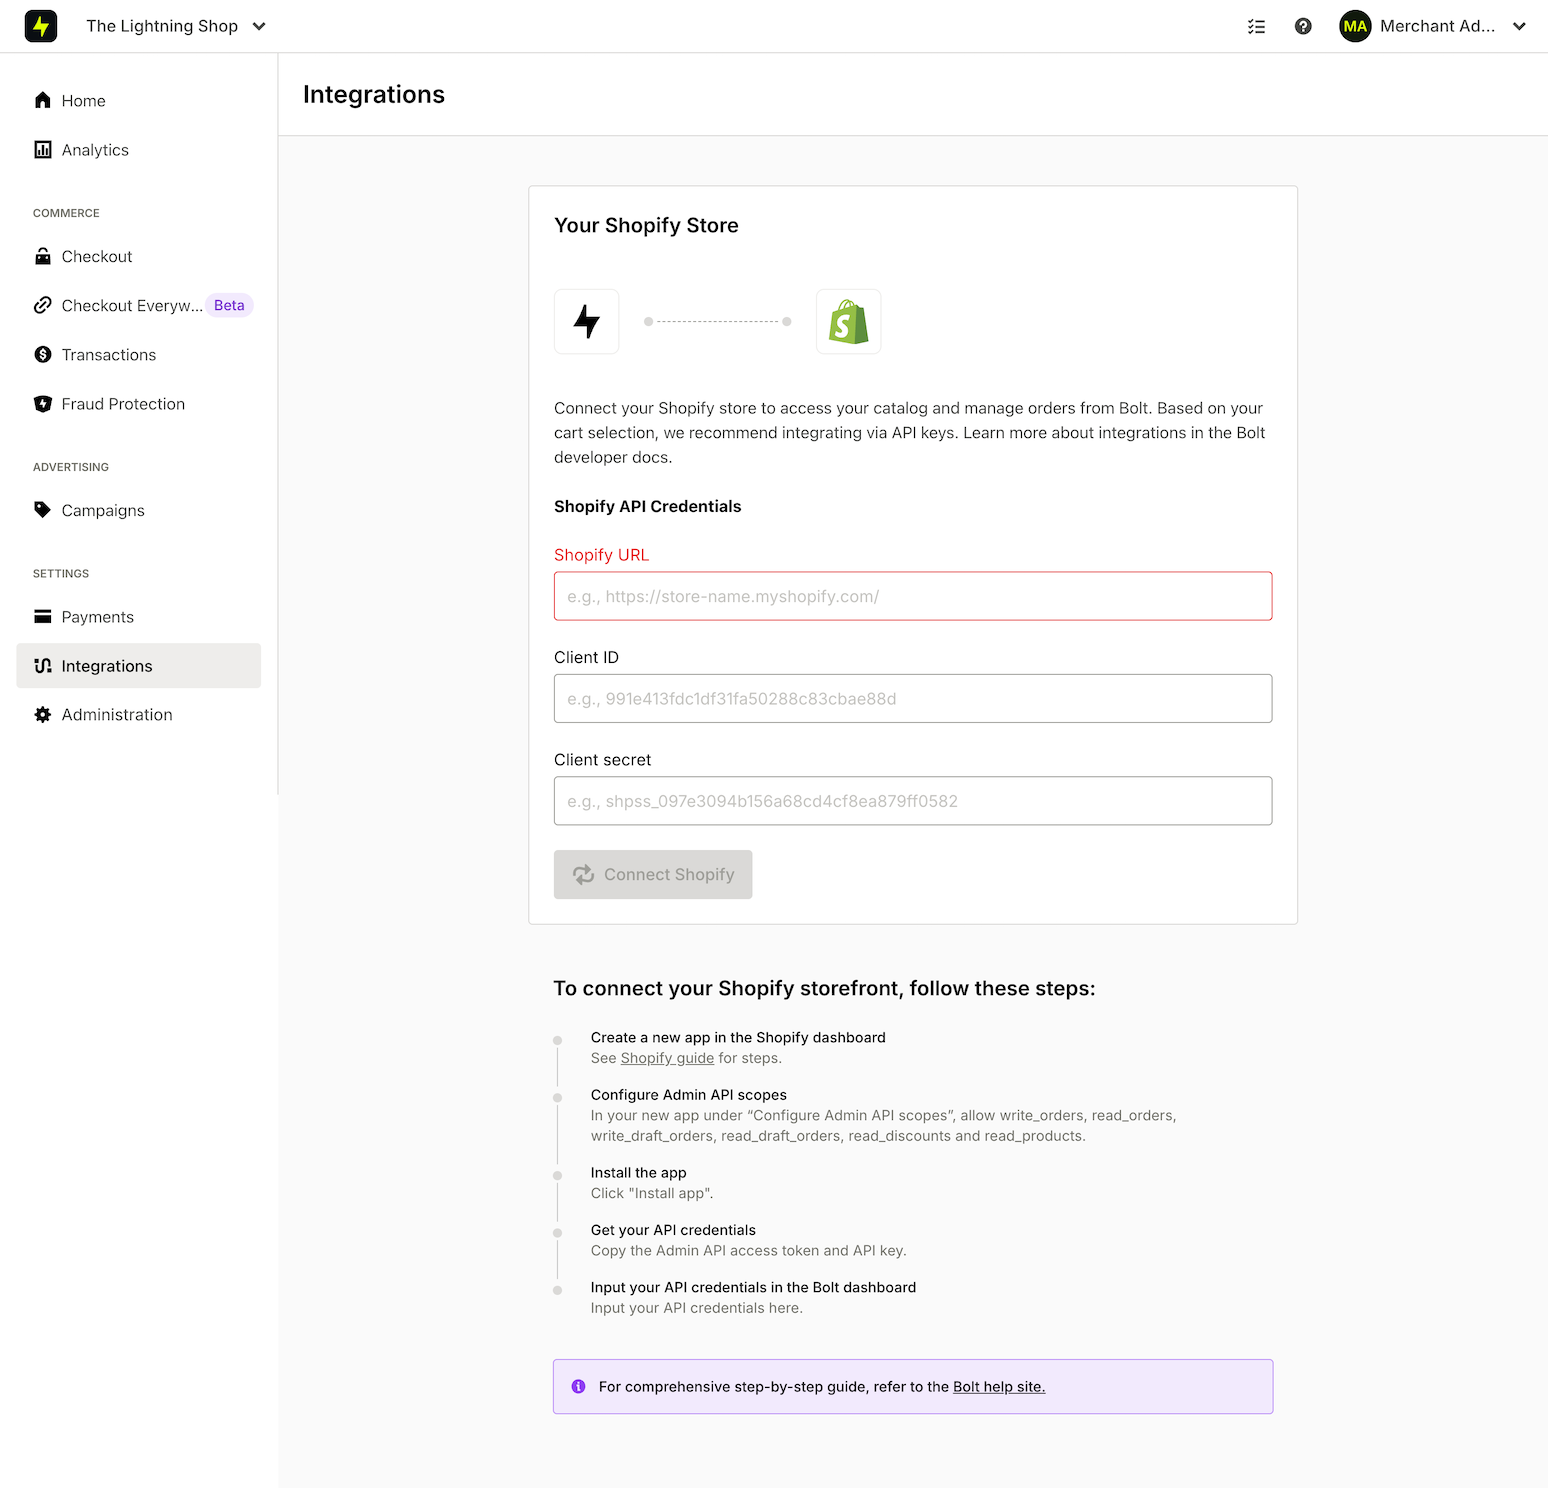
Follow Create app for the required scopes and installation. Your app must be installed on the store before you connect it to Bolt. In the app's Settings, the Client ID and Client Secret identify this connection; keep the secret out of your theme.
Optional steps for Shopify Partners
If you are a Shopify Partner, limit the app's distribution to your store. Without this, the access scopes may not take effect.
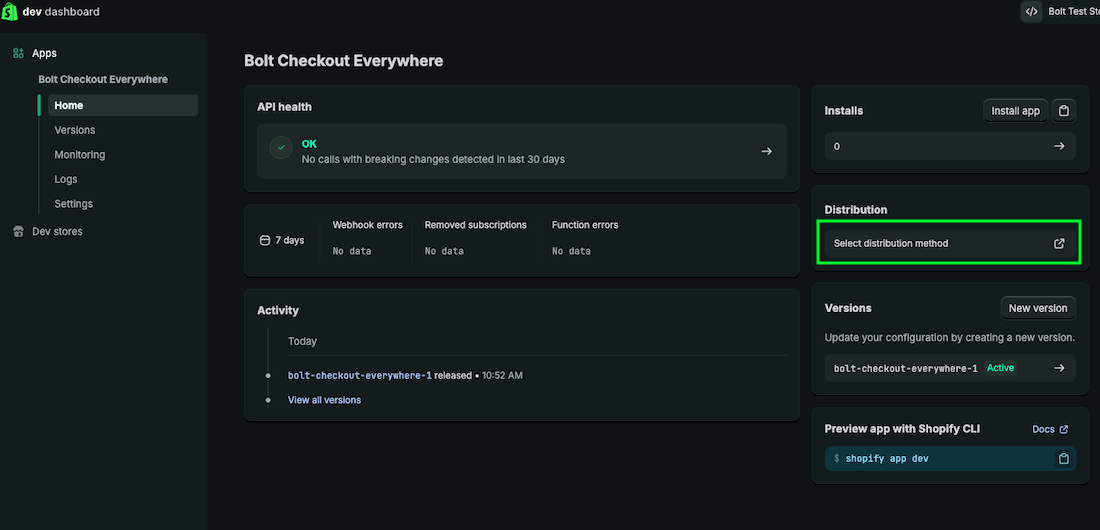
- On the app's Home tab, select Select distribution method.
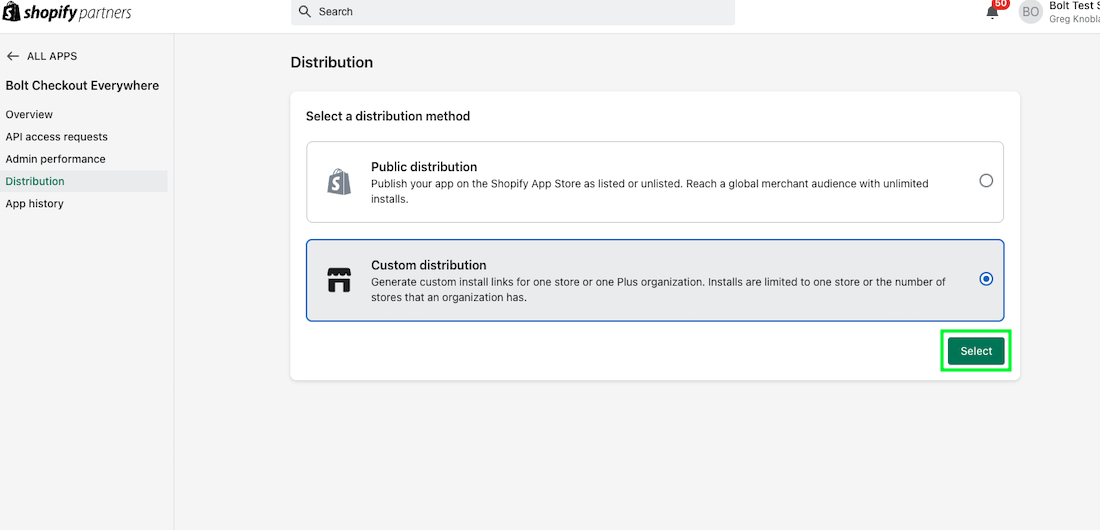
- Select Custom distribution, then Select.
- Enter your store domain, such as
mystore.com, and select Generate link.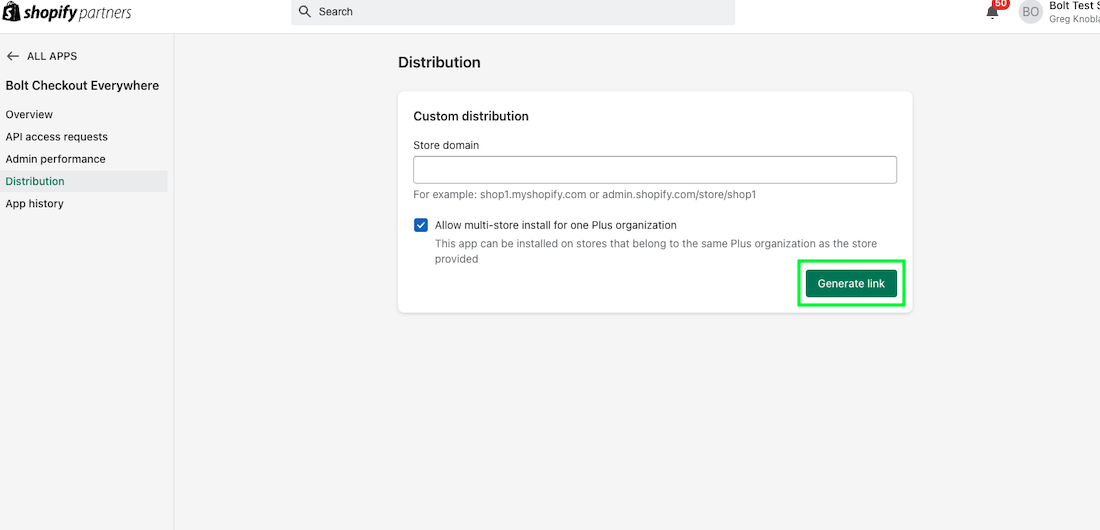
Connection settings
Connect store identifies the test store and app credentials to enter. A catalog count alone is not sufficient: compare a known product and variant with your source store.
Other payment processors
The quickstart uses Bolt Payments sandbox. For another processor, confirm compatibility with Bolt and use the processor-specific configuration. Do not substitute credentials across environments.
Checkout settings
Use Connect store for the sandbox payment, support contact, and logo settings. Further checkout settings belong to the connected store and division.
Checkout links
To also sell through Checkout Everywhere links, enable Checkout Everywhere for your division, connect your store with Create app and Connect store, then create a link. Links do not require theme changes.
- Open Checkout Everywhere, select Create Campaign, name it Shopify sandbox, and create it.
- Inside the campaign, select Create Links and select the campaign and channel.
- Choose Direct to checkout, find your test product, and select its variant. Leave promotion and optional tracking fields empty for this first purchase.
- Select Create Link and copy the generated URL from the table row.
Open the URL in a new tab. Confirm the intended product, variant, quantity, price, currency and branding. Keep the test link private. Complete a purchase as in Verify order, starting from the link instead of the cart.
When finished, open the test link's row in Checkout Everywhere, select Deactivate Link, and confirm. See the Checkout Everywhere quickstart for QR codes and other link options.